
Ductless mini splits for less · 2026 buyer's guides & free sizing helpSize my system →

Fast Answers: Is a 110V / 115V 9,000 BTU Mini Split Right for You?

A 9,000 BTU mini split heat pump works well in single rooms like bedrooms, home offices and small studios up to about 400 sq ft. If your space falls in that range and you want heating and cooling year-round without running ductwork, this single zone system is likely what you'd need.

  • With a pre-charged line set and quick-connect fittings, Zone Air offers a 9,000 BTU, 115V DIY mini split. The refrigerant stays sealed in the line set that was charged at the factory, so you don't need a vacuum pump, a gauge set or EPA 608 certification to install it.
  • No electrical upgrade required. Because it runs on 115V power, the 9,000 BTU model can run on the standard 120V power that most North American homes already have, as long as you put it on a dedicated 15A circuit. You do not need to run a 230V line, and you do not need to pay for a panel upgrade.
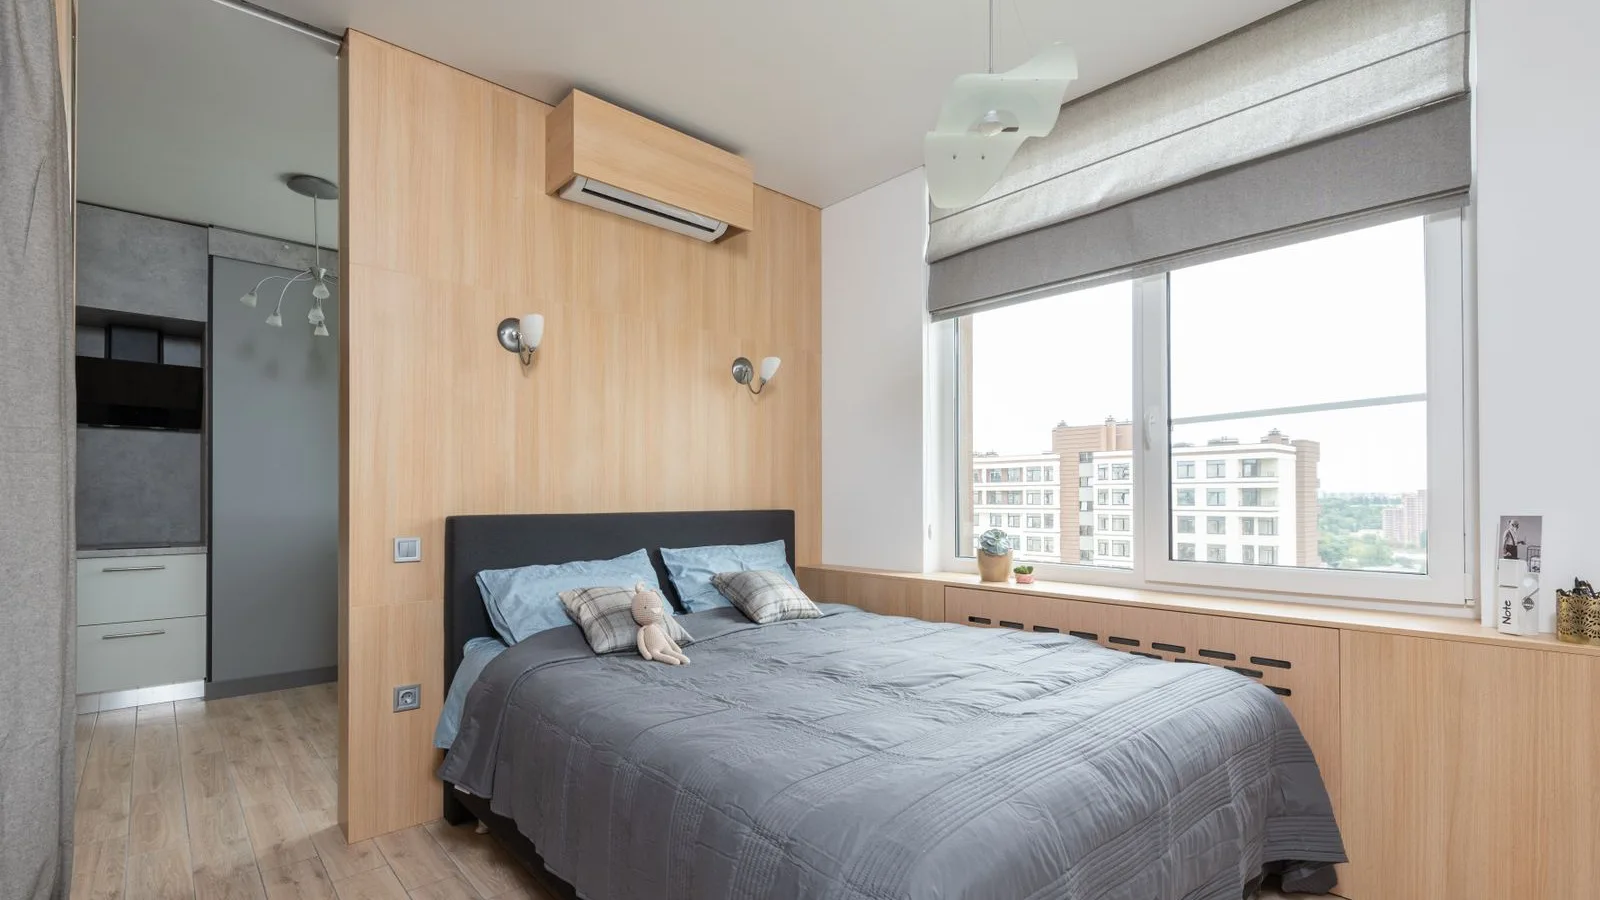
  • Best-use rooms: a bedroom that is 10×12 ft, a home office that is 12×15 ft, a finished attic or a garage workshop. Zone Air has its 9K rated for rooms of 250–450 sq ft, though that can depend on your insulation, how tall your ceilings are, and how much sun hits the room.
  • You'd be a good fit for DIY if you're comfortable shutting off breakers, drilling a hole through an exterior wall, mounting brackets into studs, using a torque wrench and following a wiring diagram.
  • When to size up: you may want a 12,000 BTU or larger system for larger spaces, open-concept floor plans, high ceilings or projects that need multiple zones. MRCOOL's larger DIY multi-zone condensers can run up to 6 indoor zones. Along with larger single zone sizes and multi-zone systems, Zone Air is also the only DIY mini split that lets you mix wall-mount, ceiling cassette and concealed ducted units on one outdoor unit (as of November 2026).

About 9,000 BTU 110V / 115V Mini Splits

A mini split is a ductless heating and cooling system with two main components connected by a small refrigerant line set instead of bulky ductwork. Here's how the pieces work together.

  • A mini split uses an indoor unit (this is the wall-mounted air handler) with an outdoor unit (this is the condenser). Mini split heat pumps usually run on 115V or 208/230V depending on how big the unit is. Zone Air's 18,000 BTU model needs a power supply of 208-230V, while the 9,000 BTU runs on standard household voltage.
  • 9,000 BTU in practical terms: a 9,000 BTU/h cooling capacity covers rooms of about 250–450 sq ft, though that varies with your climate, how well the insulation is done, and how tall the ceilings are.
  • 115V vs 230V matters. Voltage requirements have a big effect on installation and electrical planning. Running on 115V, 60Hz, single-phase power means you need a single-pole breaker, you don't need to run 230V, and you don't need to upgrade your panel.
  • The indoor unit is a quiet, wall-mounted air handler that comes with a remote control and gives you multiple fan speeds, dry mode and sleep mode. At about the level of a whisper, Zone Air's indoor unit runs as low as 30 dB(A) in mute mode.
  • The outdoor unit is a compact inverter-driven condenser that handles both cooling and heating. It's designed for low-noise installation in a backyard or side yard.
  • Efficiency expectations: The 9K 115V model from Zone Air is rated 23.0 SEER2, which is well above the ratings you would see on older window units or baseboard heaters. At 115V the DIY brands are pretty close: The DIY 5th Gen 9K from MRCOOL is rated 23.6 SEER2. If you have 230V available, the 230V 9K from Zone Air reaches 24 SEER2. That is the highest rating of the pre-charged quick-connect DIY systems we compared here. The 5th Gen DIY series from MRCOOL also uses R-454B refrigerant, and MRCOOL says "no special tools or training are necessary to install" its DIY units. Its DIY Quick Connect line sets come pre-charged too.

Zone Air's 115V 9,000 BTU DIY Mini Split

Zone Air designed this product specifically for homeowners who want the kind of comfort you would get from a professional install without having to pay contractor prices. Every part is set up so you can do a true DIY mini split installation.

  • DIY-friendly connections: the pre-charged line set uses quick-connect fittings on both the indoor unit and the outdoor unit, so you can complete the installation without a vacuum pump or EPA Section 608 certification. DIY mini splits often have quick-connect fittings to make the installation easier across brands.
  • Electrical spec at a glance: 115V / 60Hz / 1PH, dedicated 15A single-pole breaker and wire sized to local code. Power connects at the outdoor unit, not at the indoor wall unit. Zone Air's optional 3-prong power cord kit turns it into a plug-in install on a dedicated 15A GFCI outlet where local electrical code allows (never an extension cord), while MRCOOL's 115V units are hardwired. Check your panel: if you have an open slot, you're probably ready.
  • Performance range: cooling in outdoor temperatures up to 131°F (MRCOOL publishes 122°F), and heating down to −13°F. Zone Air's 9K is rated at 9,400 BTU/h of heating. Some mini splits use R-454B or R-32 refrigerants, and Zone Air uses R-454B, which has a much lower global warming potential than the older R-410A. The −13°F rating is the same floor as MRCOOL's standard DIY 5th Gen. Higher-tier MRCOOL DIY models are rated lower.
  • Smart comfort: you get Wi-Fi app control, timer scheduling, eco mode, Follow Me remote sensing and voice control with Alexa and Google Home.
  • Noise levels: the indoor unit runs as quiet as 30 dB(A), which is about what you'd hear in a quiet library. Even at turbo speed it is around 46 dB. The outdoor condenser is rated at 52 dB(A).
  • Warranty and support: Zone Air provides 5 years on parts and 7 years on the compressor with no registration deadline, and installing it yourself does not void it. You can get live technical support from 8 AM to 6 PM MT, from sizing check through troubleshooting.
  • Where it fits in the range: Zone Air's 12,000 BTU 115V model covers about 350–600 sq ft for those who need more capacity. The 9K is rated at 13.0 EER2, so at its full 9,000 BTU/h output it draws about 690 watts, and the inverter uses most of its time below that, which keeps running costs lower in appropriately sized rooms.

What's in the 9,000 BTU DIY Mini Split Kit?

When you get the Zone Air kit, here's what shows up at your door. This is your opening checklist.

  • Indoor unit (air handler) with a wall mounting plate and a wireless remote control
  • Outdoor unit (condenser) that comes pre-charged with R-454B refrigerant, with service valves that match the line set that is included
  • Pre-charged 16 ft line set that has quick-connect fittings on it for DIY installation. If you need a different length, Zone Air sells single continuous pre-charged runs of 25, 33, 50 and 75 ft and it will cut a pre-charged line set to the exact length you measure, any whole foot from 5 to 75 ft. MRCOOL sends fixed 11.5, 16, 25, 35 and 50 ft sets plus couplers and has you coil the excess.
  • Communication cable between the indoor and outdoor units
  • Condensate drain hose, tape to wrap the line set, and hardware to mount everything
  • Optional accessories to shop for separately: outdoor wall bracket or ground stand, line set cover kit for aesthetics and protection, the plug-in cord kit and a condensate pump for long or horizontal drain runs
  • Documentation: the written DIY installation manual, plus Zone Air's spec sheets and video library of install help online

Planning Your Installation: Room, Power and Location

Careful planning is what makes the difference between a weekend project that goes smooth and one that gets frustrating. It is worth spending an hour here so you can save time during installation.

  • Room sizing: a 9,000 BTU system fits rooms of 150–400 sq ft with standard 8 ft ceilings. Open-concept areas, high ceilings (10+ ft), or sun-drenched spaces may need a step up to 12,000 BTU or larger. If you oversize the unit, it will short cycle and you will get poor humidity control.
  • Electrical planning: a 9,000 BTU mini split typically requires a dedicated 15A or 20A breaker. Verify your panel has an open slot, check the distance to the outdoor unit for proper wire gauge, and confirm local code requirements. Installing a mini split requires checking local building and electrical codes before you start.
  • Indoor placement: mount the air handler high on a wall inside the home, up near the ceiling. Do not point the airflow right at beds or work tables, and keep the room the manufacturer says you need from the ceiling and side walls.
  • Outdoor placement: set the condenser on a stable pad or wall bracket with at least 12–24 inches of open space on all sides so it can get airflow. Keep it away from bedroom windows. If you get heavy snow, raise it up above the snow level you expect. The standard 16 ft line set from Zone Air keeps the outdoor unit close to where the wall is penetrated. If you need a longer run, the 75 ft set from Zone Air is a single factory-sealed run with no field joint, while MRCOOL links two sets with a coupler beyond 50 ft.
  • Line set path: pick the route that is the shortest and most practical. Plan a hole through the wall of about 3 inches in diameter, and angle it slightly downward toward the outside so the condensate can drain out. Try to avoid sharp turns.
  • Climate considerations: in very hot or cold climates, shade the outdoor unit and don't put it in an enclosed or cramped area where heat gets trapped around the condenser.
  • Safety prep: get your PPE together (gloves, safety glasses), make sure your ladder is stable if you're mounting high on a wall, and shut off power at the main panel before you do any electrical work.

Step-by-Step DIY Installation Overview

This is a high-level sequence that covers the whole installation. Follow your Zone Air manual for the exact torque specifications and the wiring diagrams-these steps are just here to give you the guide.

  1. Mount the indoor unit: find the wall studs, get the mounting plate level, drill pilot holes and secure the plate. Then hang the air handler temporarily so you can check the fit and the path.
  2. Drill through the wall: put the hole behind or next to the indoor unit, and angle it a little bit downward toward the outside. Put a drop cloth down so you don't mess up the finishes inside your home. If you're drilling through brick or block, you'll need a masonry bit.
  3. Route the line set, the drain hose and the control cable: gently unroll the line set so you do not kink it, then tape the line set, drain hose and control cable together so it's easier to feed them through the wall. Managing the drainage the right way is essential during a mini split installation-make sure the drain hose slopes downward the whole way.
  4. Secure the indoor unit: lock the air handler onto the mounting plate, check that it's level and make sure the drain hose keeps sloping downward all the way to the outside.
  5. Position the outdoor unit: set the condenser on a pad or bracket with the right space around it, and anchor it firmly so it does not shake or make noise.
  6. Connect the line set: take off the protective caps, line up the quick-connect fittings, tighten them to the torque value in your manual, and follow the procedure for opening the service valves.
  7. Complete wiring: connect the communication cable between the units using the wiring diagram, check that the terminal labels match, then install the dedicated breaker at your panel. For power, the connection is made at the outdoor unit. The indoor unit is powered from the outdoor unit through the communication cable.
  8. Do your final checks and start the system up by inspecting the fittings for any oil signs, then tidy up the line set with covers or clamps. You'll restore power, set the system to cooling mode, and test that it runs well. You should also monitor the condensate drainage and cycle through the modes to make sure everything works.

Best Practices, Safety and Local Code Considerations

Even with a DIY-friendly system, safety and code compliance aren't optional. They are there to protect you, your home and your warranty.

  • Follow the manual. The official installation manual from Zone Air is your main reference, not YouTube alone. If you want the warranty to stay valid, you need to strictly follow the mechanical and electrical guidelines that come with a 9,000 BTU 115V mini split.
  • Electrical safety: always shut off power at the panel before you do any work. Use a non-contact voltage checker to verify. Follow NEC or local electrical codes for wire gauge, breaker size and disconnect requirements.
  • Call an electrician if your panel is full, if you're not sure about landing wires on a breaker, or if your local jurisdiction requires a permit and inspection for new circuits.
  • Be careful with the refrigerant and never cut or modify the pre-charged line set. If you do that, you open the sealed refrigerant circuit and that brings in EPA Section 608 requirements for certified refrigerant handling. You can just order the length you need instead.
  • Mounting safety: ensure brackets and anchors are rated for the weight of each unit (the indoor air handler is about 23 lbs and the outdoor unit is about 58 lbs). Older plaster walls or non-standard construction may need toggle bolts or specialized anchors.
  • Check your local code for exterior wall penetration sealing, where the condensate drains (keep it away from foundations and walkways), snow clearance if you're in a cold region, and any HOA or building restrictions on outdoor unit placement or noise.

Proper installation is what keeps the manufacturer warranty coverage and it's what ensures the system delivers its rated efficiency over the long term.

Operating Tips, Maintenance and When to Upgrade

Once your system is running, a few habits will keep it efficient and extend its life for years.

  • For daily operation, you'll want to set cooling to 75–78°F so you get a balance of comfort and efficiency. Use auto fan mode when you can, and switch to sleep mode at night. Keep windows and doors shut while the system is running.
  • Clean or rinse the indoor filters every 4–6 weeks during seasons when you use it a lot. When filters get dirty, they restrict airflow, reduce efficiency and put too much load on the compressor.
  • Gently wash the outdoor coil with a garden hose in spring and fall. Clear leaves and debris, inspect the insulation on the line set and the brackets, and check that the condensate drain stays clear.
  • Use shades on the windows that get sun, seal the drafts you can see, and add weather stripping where you need it. At about 690 watts at full output and a rate of $0.16/kWh, the cost to run it is about $0.11 per hour. Even if you run it flat out for 8 hours a day, that's about $26 a month, and an inverter usually runs well below full output.
  • If the mini split runs constantly on extreme days without reaching setpoint, if renovations or additions make your conditioned space larger, or if you find yourself wanting comfort in several rooms, it's time to change your approach. With Zone Air's higher-BTU and multi-zone options, you can fit larger projects, and one outdoor unit can run a different indoor style in each room.

The 115V 9,000 BTU DIY mini split heat pump from Zone Air is an efficient, quiet and attainable upgrade over window AC units and space heaters for small-to-medium rooms. If you love the idea of pro-level comfort without the pro-level bill, join the growing number of homeowners who've made this project a weekend reality. Find the Zone Air 9K model, check availability and stock, add it to your cart, and learn what a real cooling and heating upgrade feels like.

Specs and warranty terms are manufacturer-published as of November 2026, subject to change; verify before purchase. MRCOOL® is a trademark of its owner; Zone Air is not affiliated with or endorsed by MRCOOL.
Sources & Methodology

Where our data comes from

Specs, ratings, prices and warranty terms come from the manufacturers' published catalogs, manuals, spec sheets and policy pages linked below, checked in November 2026.

Keep Reading

Related guides

More on 115V 9K DIY Install.

Check the size before you drill the wall

Run your room through the free calculator, then compare single-zone systems by capacity.