
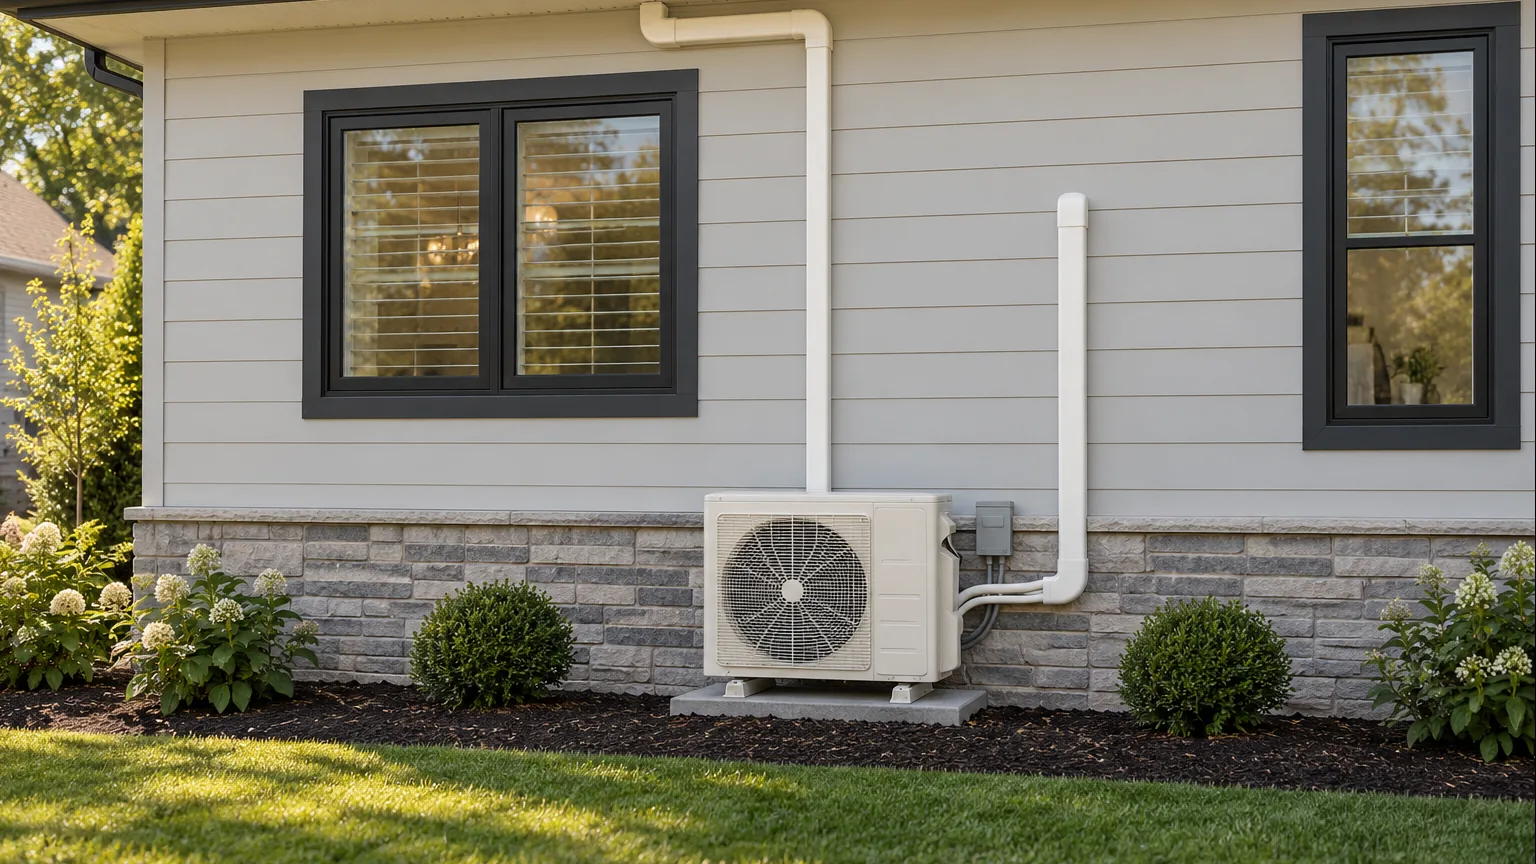
Quick Answer: What's the Easiest DIY Mini Split to Install in 2026?
Quick answer
The easiest true DIY mini split install in 2026 comes from a system that uses factory-sealed, pre charged lines filled with refrigerant at the factory. You never touch refrigerant, never need manifold gauges, and never call an HVAC technician. Installing a mini split system typically does not require specialized HVAC experience, and the whole job can save you $3,000–$5,000 compared to hiring a contractor.
MRCOOL DIY and Zone Air are the two main DIY mini split brands offering true quick connect line sets with no-vac installation. For the simplest electrical work, look at 115V models (Zone Air's 9K and 12K, MRCOOL's hardwired 12K), which need a dedicated 115V circuit instead of a 230V one.
Here's what "pre charged line set" actually means: the refrigerant is already loaded inside sealed copper lines at the factory. Internal valves stay closed until you torque the fittings to spec. No vacuum pump, no brazing, no refrigerant handling. That's what turns a job that traditionally required a licensed technician into a realistic weekend project. This article walks through install basics and how the MRCOOL DIY and Zone Air systems differ.
What Is a DIY Mini Split with Pre-Charged Line Sets?
A DIY mini split is a ductless heat pump system designed for homeowner installation. Every system has three core parts: an indoor air handler, an outdoor condenser, and a pre charged line set connecting them. DIY ductless mini-split heat pump systems are designed specifically for homeowners and allow independent climate control for individual rooms without ductwork.
What separates pre charged linesets from standard copper line sets is straightforward:
- Standard line sets arrive empty. A technician must braze or flare the fittings, pull a vacuum, and charge the system with refrigerant on-site. That requires EPA Section 608 certification and professional equipment.
- Pre charged line sets arrive factory-loaded with R-454B refrigerant (the current low-GWP standard). Internal spring-loaded valves keep the circuit sealed. Pre-charged line sets eliminate the need for refrigerant charging entirely, and quick-connect fittings prevent refrigerant loss during installation.
Both MRCOOL DIY and Zone Air have moved to R-454B across their 2026 lineups, meeting federal and state environmental regulations. Pioneer and Senville, by contrast, do not offer true quick-connect pre-charged lines on most models.
Each air handler in a multi-zone system gets its own matched line set, sized and charged for its BTU capacity.
How MRCOOL DIY Quick Connect Line Sets Work
MRCOOL's patented Quick Connect pre-charged line set system is well documented. Here's how the connection works on their Gen 5 models:
- Each pre charged line set has spring-loaded valves on both ends. The valves open only when the coupler is fully torqued to spec, allowing refrigerant to flow safely.
- MRCOOL's pre-charged line sets use R-454B refrigerant. Diameter pairings for 2026 Gen 5 models: 1/4″ × 1/2″ liquid/suction for 9,000–18,000 BTU units; 3/8″ × 5/8″ for 24,000–36,000 BTU units.
- The installer removes protective caps, aligns the quick connect fittings, hand-tightens, then uses a torque wrench to reach the manufacturer's spec. That's when internal valves open and the system pressurizes.
- No vacuum pump, manifold gauges, nitrogen, or brazing torch are needed. MRCOOL's Quick Connect fittings allow easy installation without leaks.
- MRCOOL publishes leak testing data at high PSI and pull test force ratings on each coupler to verify connection reliability and safety.
Available lengths for MRCOOL pre charged line sets include 16, 25, 35, and 50 ft, with the communication wire typically bundled in.
Zone Air vs MRCOOL: Install Differences
Zone Air is the other main DIY brand with pre charged lines. Both brands use true pre charged line sets and quick connect technology; the differences are mostly electrical and line-set sizing.
Key differences that affect easy installation:
- Voltage: Zone Air's 9K and 12K BTU models come in 115V versions that run on a dedicated 15A circuit, with an optional cord kit for a GFCI outlet where local code allows. MRCOOL's 115V 12K is hardwired, and larger models from both brands require 230V, which usually means an electrician.
- Efficiency: Zone Air's 12K 230V model is rated 24 SEER2 (115V: 23); MRCOOL's 5th Gen lineup reaches 23.6 SEER2, and its 115V 12K is 23.5. SEER2 ratings reflect seasonal performance, and a gap this small makes little difference on a bill.
- Cold climate: Both brands rate heating performance down to roughly −13°F. Cold climate heat pumps like these are designed to operate effectively in low temperatures without backup resistance heat in most conditions.
- Buying experience: Zone Air bundles correctly sized pre charged line sets with each unit, reducing SKU confusion. MRCOOL's catalog has dozens of line set SKUs across generations, and ordering the wrong diameter or generation can void the warranty.
- Support: Zone Air sells and supports its systems directly and has a 30-day return policy on uninstalled systems. MRCOOL sells through third-party retailers, so support and returns run through the seller.
Both brands offer WiFi control for managing heating and cooling remotely.
Planning Your DIY Mini Split Layout (Before You Drill)
Before any holes go in the wall, plan the full route from indoor unit to outdoor unit:
- Indoor air handler location: Choose an exterior wall, away from direct sun exposure, with a clear path for the condensate drain to slope downward and outside.
- Line set route: Count the distance, number of bends, and vertical rise between indoor and outdoor unit. Shorter, cleaner runs preserve cooling and heating capacity. Longer runs with excessive bends reduce efficiency and risk oil return issues.
- Pre charged line set lengths: Standard included lengths are typically 16–17 ft. Extension line sets are available - MRCOOL's line sets can be joined with a coupler to reach up to 75 feet on larger models, and Zone Air cuts single-run line sets to order up to 75 ft. Pre-charged line sets can technically be up to 100 feet long, though shorter is always better for performance.
- Matching matters: Each indoor unit must have its own matched line set. Mixing diameters or stretching beyond approved length can void the warranty.
- Accessories: Line set covers, wall sleeves, and outdoor brackets protect the system from UV, snow, and physical impact. They also improve curb appeal - especially for a garage or visible exterior wall.
Use a mini split sizing calculator to confirm your BTU capacity before purchasing.
Step-by-Step DIY Install: From Mount to First Cool Air
The install process is similar across both MRCOOL DIY and Zone Air systems. Installation documentation includes clear diagrams for guidance, and the job can be completed in a few hours - though budgeting at least eight hours is wise for first-timers. Here's the chronological overview:
- Mount the indoor bracket: Secure it to wall studs using a level. The air handler hangs on this bracket. (Recessing a unit into the ceiling instead? See the ceiling cassette installation guide.)
- Drill the wall penetration: Use a hole saw to create a slightly downward-sloped hole for the line set, condensate drain, and communication wire.
- Feed lines through the wall: Bundle the pre charged lines, drain hose, and control cable. Route carefully through the hole from inside to outside.
- Uncoil and route outside: Straighten the line set along your planned path without kinking - especially the larger-diameter suction line. Sweep curves, not sharp bends.
- Set the outdoor unit: Place the outdoor condenser on a level pad, stand, or wall bracket with adequate airflow clearance on all sides.
- Make connections: Connect the line set first to the indoor unit, then to the outdoor unit using the quick connect coupler. Torque each connection to manufacturer spec with a torque wrench. This is where the internal valves open and the system charges itself.
- Final steps: Open service valves on the outdoor unit (if required by model), connect power, verify the communication wire is seated, and run a first test cycle. Check for leaks, abnormal noise, and proper air flow.
For a complete step-by-step walkthrough, Zone Air's install guide covers each phase with photos and diagrams.
Do You Need an HVAC License or Electrician for a DIY Mini Split?
With true pre charged line sets from MRCOOL DIY or Zone Air, pre-charged line sets eliminate the need for HVAC certification. You never open the refrigerant circuit beyond factory-sealed fittings, so no EPA Section 608 certification is required (see installing without an HVAC technician). DIY mini-splits eliminate the need for HVAC technician involvement for the refrigerant side of the install.
- Electrical rules still apply. Many 230V systems legally require a dedicated circuit, disconnect box, and proper wire gauge - work that may require a licensed electrician depending on your municipality.
- 115V models (Zone Air's 9K and 12K, MRCOOL's 12K) avoid a 230V circuit, though they still need a dedicated 115V circuit that meets code.
- Always check local building and electrical codes. Requirements for permits, disconnect switches, and GFCI protection vary by state.
- Even without a legal requirement, confirming breaker sizing and wire gauge with a qualified electrician is a smart move for peace of mind.
You can install a mini split yourself - the question is just whether your electrical panel and local code let you handle the power side too.
Choosing the Right Pre-Charged DIY Mini Split System
Start with the room, not the brand. Use BTU capacity as your anchor:
| Room Type | Approximate Size | Suggested BTU |
|---|---|---|
| Small bedroom / office | Up to 450 sq ft | 9,000 BTU |
| Medium room / large bedroom | 450–600 sq ft | 12,000 BTU |
| Open living area / garage | 600–1,000 sq ft | 18,000–24,000 BTU |
Sizing a single bedroom or office? Our 6,000–9,000 BTU DIY mini split for 250 sq ft guide compares MRCOOL and Zone Air at that size. Then compare on the factors that actually matter:
- Efficiency: Zone Air's 230V 9K and 12K models reach 24 SEER2 and MRCOOL's 5th Gen reaches 23.6. ENERGY STAR certification indicates higher efficiency cooling and heating systems - look for it on whichever brand you choose.
- Warranty: Zone Air provides a 7-year compressor / 5-year parts warranty that stays valid on a DIY install. MRCOOL DIY 5th Gen offers matching 5-year parts / 7-year compressor coverage with no registration required. Be aware that MRCOOL's warranty document lists exclusions, so check it before mixing line-set generations or modifying the system. Zone Air also has a 30-day return policy for uninstalled systems.
- Rebates: The federal 25C tax credit ended for equipment placed in service after December 31, 2025, but many state and utility programs still offer rebates for cold-climate rated, high-SEER2 equipment. Check your specific model's certifications.
- Line set fit: Match line set diameter and maximum length to your system's BTU rating. Zone Air bundles correctly sized pre charged line sets into each kit; with MRCOOL, double-check the diameter and generation before ordering.
Shop the best DIY mini splits for 2026 to compare models side by side.
Final Thoughts
Our pick for a first-time install: a Zone Air 115V 9K or 12K, because it avoids a 230V circuit and its line set is cut to your run. MRCOOL DIY is the better choice if you need a larger model (up to 36K) or a Hyper Heat model rated to −22°F.
- Map your room and confirm the BTU capacity you need
- Verify your electrical setup (a 115V model needs a dedicated 115V circuit; larger sizes need 230V)
- Choose a system and the matching pre charged line set length
- Block out a weekend and get it done
To compare the 115V option, see Zone Air's 110V/115V DIY lineup.