
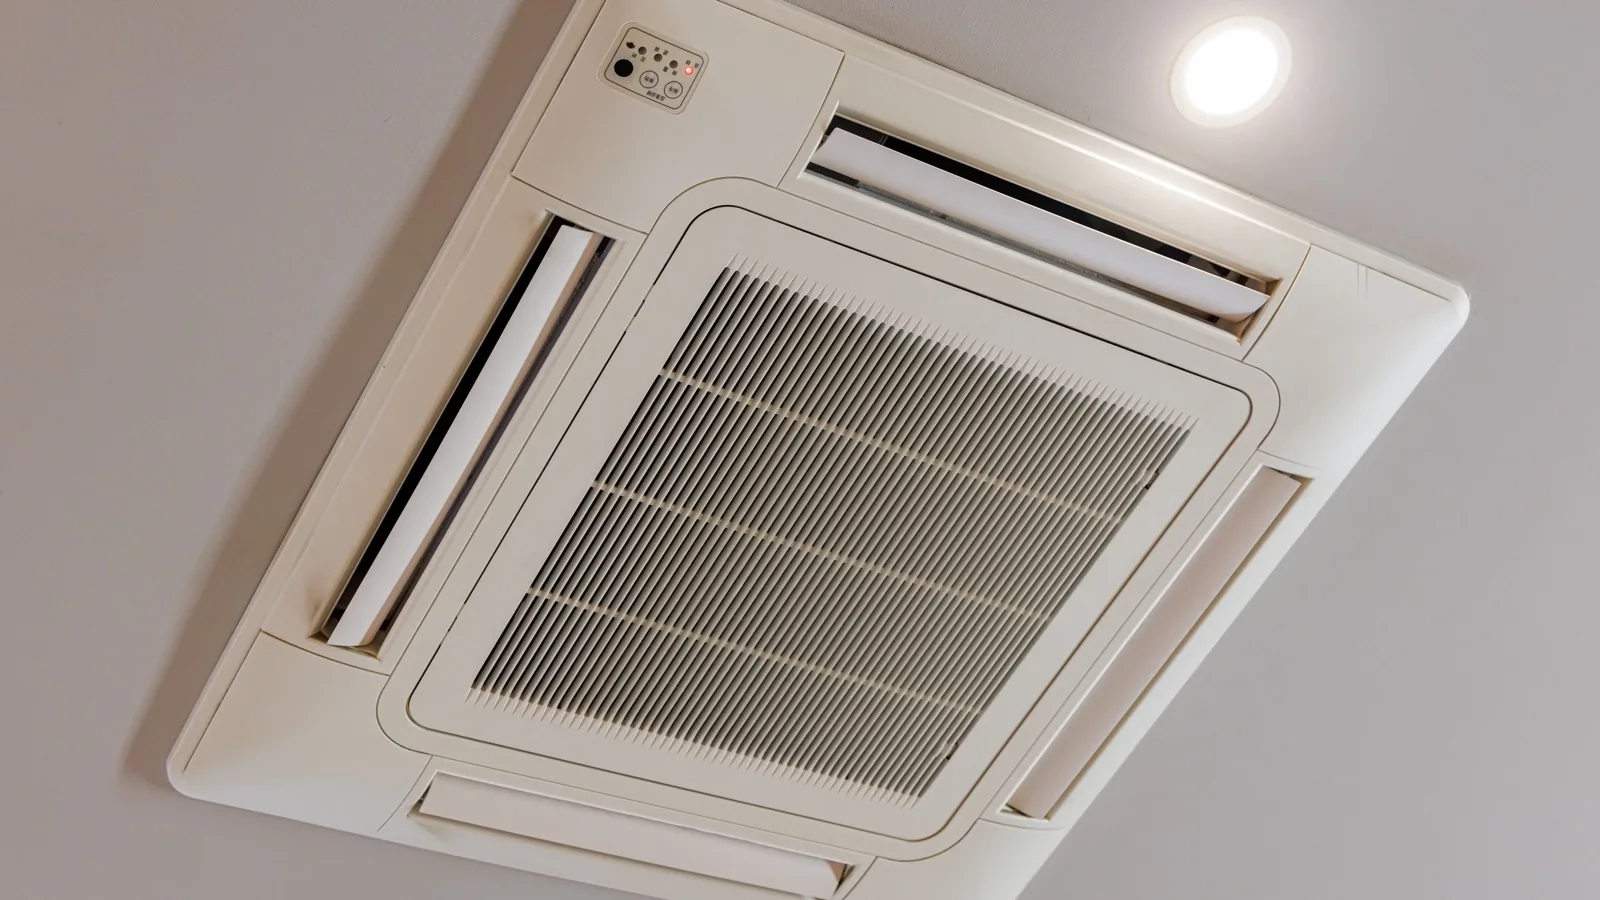
Quick Answer: Is a Ceiling Cassette Mini Split a DIY Job?
Partly. The refrigerant side of a ceiling cassette install is genuinely homeowner-friendly when the system ships with a pre-charged quick-connect line set — you torque two fittings and open the valves, never opening refrigerant to atmosphere and never renting a vacuum pump. The ceiling side is the real work: cutting a clean opening between joists, hanging a 32 lb body dead level off threaded rods, insulating it if the cavity is unconditioned, and routing a gravity-plus-pump drain that will not weep into the drywall three summers from now.
Plan on a 208-230V circuit. Both DIY-oriented cassette lines are 230V: Zone Air's 4-way cassettes are 208-230V on a 15A double-pole breaker in single-zone form, and MRCOOL's DIY ceiling cassette is a 230V air handler. The 115V plug-in models people associate with DIY mini splits are wall-mounted heads, not cassettes.
The clearest difference between the two DIY options is packaging. Zone Air sells the 4-way cassette as a complete matched single-zone system — 9,500 BTU up to 475 sq ft at $2,469.99, or 12,000 BTU up to 600 sq ft at $2,569.99, both 21 SEER2, with the pre-charged line set ordered separately in a custom 16-75 ft length from $229.99. MRCOOL's DIY cassettes (6K, 9K, 12K and 18K) are sold as indoor air handlers for a DIY multi-zone condenser, so a single-room cassette project means buying a multi-zone outdoor unit to hang one head on it. If you want one cassette in one room, that packaging difference matters more than any spec on the sheet.
The rest of this guide is the actual sequence, step by step, with the numbers you need at each stage. If you have not settled on capacity yet, start with the mini split sizing calculator.