Ductless mini splits for less · 2026 buyer's guides & free sizing helpSize my system →

Fast Answers: Typical Garage Mini Split Size, Height & Cold-Climate Needs

Most insulated one-car garages, about 200–300 sq ft with an 8–9 ft ceiling, do well with a DIY mini split that puts out 9,000–12,000 BTU. A typical two-car garage at 400–550 sq ft usually needs a 12,000 BTU unit when it's well insulated, and that goes up to 18,000 BTU when the insulation is only moderate and there is significant air leakage. Poor insulation or garage doors that open a lot can push the need higher fast.

Ceiling height directly affects system sizing. Going from an 8 ft ceiling to a 12 ft ceiling adds about 50% more air volume to heat, so the same 400 sq ft floor may jump from requiring 12,000 BTU to 18,000 BTU. For shops with vaulted ceilings or storage rooms at 14 ft, you need additional capacity.

In cold climates where design temperatures drop to -10°F or -20°F, you should choose true cold climate heat pump systems rated to at least -13°F, and add 20–30% capacity over what a well-insulated room would need. This guide focuses on DIY mini split installs using pre-charged line sets, specifically Zone Air's DIY systems, that homeowners can install themselves without refrigerant work, while still meeting electrical and local code requirements.

DIY Mini Splits for Garages

Gas unit heaters create a combustion risk and they need to be vented. Portable electric space heaters are inefficient and cost a lot to run. Extending your central ductwork out to a garage means long duct runs, heat loss along the way, and air conditioning loads that your main system was not designed to handle. A ductless mini split will get rid of all of these problems and it will give you year-round heating and cooling from one system.

Variable-speed inverter technology is recommended for garage heating systems because it changes compressor output instead of cycling on and off. That means temperatures that stay more even, less energy waste and climate control that works on its own without you having to touch your home's main HVAC. A mini split heat pump will pull heat from outdoor air, even in cold weather and deliver it inside, then switch the process in summer to give you efficient heating and cooling in a single package.

For garages specifically, there is no exposed flame, there is no CO risk in attached spaces. The humidity control works better to protect your tools, cars and finishes from rust and condensation. The cost advantage is significant too. With a pre-charged DIY system like Zone Air you can skip the installer's labor bill. You can complete a single-zone install in a weekend with basic tools. For detached shops, a DIY mini split will get rid of digging for new ductwork and it will let you heat only when the space is occupied, which will cut your energy use compared to always-on gas heaters.

Garage Conditions, Insulation and Ceiling Height

Garage mini split sizing is harder than those square-footage charts make it look. Garages have thinner walls, bigger doors and higher ceilings than the living space in your house, and the materials they used in most garages built between 1990 and 2020 just make it harder. The standard rules you'd use for HVAC in a house don't really work for a garage in a cold climate, so you need to understand what you're dealing with before you pick a unit.

Here are the construction problems that add to the load:

  • Walls: 2×4 framing has minimal fiberglass batts (R-11 to R-13), or there's no insulation at all in metal buildings
  • Slab: Uninsulated concrete floors soak up heat and need more heating capacity, so they act like a thermal drain all winter
  • Overhead doors: Single-layer steel with no insulation. An insulated garage door can cut heat loss by a lot, but most stock doors aren't insulated
  • Ceiling: Exposed trusses or uninsulated attic above - heat rises and gets out

Poor insulation increases energy loss in garages a lot. Uninsulated garages use nearly double the energy of insulated ones. The quality of the insulation directly affects how efficient the mini split is throughout the system's life. Air leakage can increase heating and cooling loads a lot - the bottom of the garage door, side jamb gaps, attic access openings and penetrations for plumbing and electrical are the worst spots. Basic weatherstripping and spray foam before or alongside installation pays for itself quickly.

For uninsulated or poorly insulated spaces, including metal buildings, owners should either upgrade insulation first or intentionally make the mini split bigger by 20–40%. A two-car garage that is 576 sq ft with poor insulation may need 24,000 BTU compared to 18,000 BTU if the insulation were improved - that is a big difference in efficiency and comfort.

Sizing a DIY Mini Split for a Garage

This section walks through a practical load estimate using real numbers. Accurate load calculations are necessary for proper HVAC sizing in garages - guessing leads to either oversized units that short-cycle or undersized ones that can't reach setpoint.

Step 1: Calculate volume. Multiply your square footage by ceiling height. A 500 sq ft garage with an 8 ft ceiling is 4,000 cubic feet. The same footprint with a 12 ft ceiling is 6,000 cubic feet - 50% more air to condition.

Step 2: Start with a baseline. In moderate climates, figure roughly 35–40 BTU per sq ft. Ductless mini-split systems require more BTUs per square foot in cold climates, so bump that to 50–60 BTU/sq ft when design temps drop below 0°F. A 500 sq ft garage typically needs 12,000 BTUs as a baseline in mild conditions.

Step 3: Adjust. Factor in climate, insulation, sun exposure, large windows and how often you open the door. Mini split sizing should consider insulation quality and climate together.

Concrete examples:

  • 250 sq ft with an 8 ft ceiling, insulated, in Portland OR: about 9,000 BTU
  • 500 sq ft with a 10 ft ceiling, poorly insulated, in Minneapolis MN: 18,000–24,000 BTU
  • 800 sq ft shop with a 14 ft ceiling, where there are high ceilings and minimal insulation: 24,000–30,000+ BTU

Quick sizing reference by garage size:

  • 200–300 sq ft (1-car): 9,000–12,000 BTU
  • 400–550 sq ft (2-car): 12,000–18,000 BTU
  • 600–800 sq ft for a large 2-car or 3-car garage: 18,000–24,000 BTU
  • 800–1,000 sq ft (shop/barn): 24,000–36,000 BTU. You may need multiple indoor units

Add 20% to BTU capacity for garages that are poorly insulated. For ceilings that are high, increase BTU capacity by 10–20%.

Treat square-foot charts as starting points. Then check manufacturer performance data at low outdoor temperatures and use a Manual J load calculation or a sizing calculator for precision - especially in a cold climate where the cooling load and heating load split apart a lot.

Cold Climate Performance Below Freezing

Cold climate performance is about real heat output at temperatures well below freezing, not just at the 47°F test point where most units look great. AHRI standardized tests include 47°F and 17°F, but what matters for your garage in January is capacity at 5°F and -13°F.

Many standard mini split systems lose 30–50% of their heating capacity around 5°F. Cold-climate models keep 60–80% of their rated BTU at those same temperatures. Research from PNNL found that premium cold-climate units keep about 60–70% of their capacity at -13°F, while standard units may become nearly useless. Mini splits lose heating capacity as temperatures drop, so proper sizing is crucial if you want to avoid comfort gaps.

When you're comparing units, look at the nominal BTU and compare it to the low-ambient BTU. An 18,000 BTU system that still delivers 14,000–16,000 BTU at 5°F is far more suitable for Duluth, MN than one that drops to 10,000 BTU. Tests at a Canadian test center measured COPs of about 2.3 at 5°F and about 2.0 at -13°F for cold-climate units.

Defrost cycles matter in extreme cold and during times when there are cold snaps. When frost builds up on the outdoor coil, the system will run in reverse briefly to melt it, which temporarily stops heat output. Good insulation and proper sizing will reduce the comfort swings during defrost.

Here's what to check on manufacturer data sheets:

  • Minimum operating outdoor temperature
  • Heating capacity at 5°F and -13°F
  • HSPF2 rating is Region IV for cold climates
  • Whether the unit is specifically designed as "cold climate" or "hyper heat"
  • SEER2 efficiency: the best pre-charged DIY systems can reach 24 SEER2 when they run on 230V

Garage Mini Split Manufacturers for Cold Climates

Not every mini split brand handles a DIY install or cold weather the same way. When your outdoor unit is running hard at -10°F for months on end, the warranty terms, heating performance data and install requirements matter just as much as the sticker price.

Zone Air is our top choice for DIY garage applications. It uses factory pre-charged line sets with quick-connect fittings, so you don't need a vacuum pump or to handle refrigerant. Every Zone Air system is rated to heat down to -13°F and to cool in outdoor temperatures up to 131°F. Of the brands we compared here, Zone Air is the only one that cuts your pre-charged line set to the exact length you measure, any whole foot from 5 to 75 (as of November 2026) - that's handy for detached shops and long runs. Its 230V 9K and 12K units reach 24 SEER2, with HSPF2 (Region IV) ratings from 8.4 to 10.5 depending on which indoor unit style you go with. The 115V 9K and 12K models can plug into a dedicated 15A outlet with the optional 3-prong cord kit where local electrical code allows a plug-in install. The warranty is 5 years parts, 7 years compressor, with no registration deadline, and installing it yourself won't void it. For a big shop that needs more than one indoor unit, Zone Air is the only DIY mini split that lets you mix wall-mount, ceiling cassette and concealed ducted units on one outdoor unit (as of November 2026), so a shop and an attached office can run off a single condenser.

MRCOOL is a recognizable DIY alternative. MRCOOL DIY systems also use pre-charged quick-connect line sets. The standard MRCOOL DIY 5th Gen is rated to about -13°F, the same floor as Zone Air, and higher-tier MRCOOL DIY models are rated lower. Its warranty is also 5 years parts and 7 years compressor with no registration required. For a garage, the differences come down to install details: MRCOOL ships fixed 11.5, 16, 25, 35 and 50 ft line sets, joins two sets with a coupler for longer runs, and has you coil the excess behind the condenser. Its 115V 9K and 12K units are hardwired. And it publishes cooling to 122°F against Zone Air's 131°F. An MRCOOL mini split works, but it's not our top pick here.

Professional-install brands like Mitsubishi, Daikin and Fujitsu offer strong cold climate performance (some rated to -22°F or lower) if you choose not to DIY. Mitsubishi mini splits are known for quiet operation. These require a qualified HVAC technician with EPA 608 certification and vacuum charging equipment - which adds significant cost. Pioneer offers budget-friendly mini split options in this space as well, though they typically require professional installation.

Key manufacturer factors for cold-climate garages: low-ambient heating rating, corrosion protection on outdoor coils (this is critical in road-salt regions), warranty terms that accept homeowner installation, and clear installation manuals.

Electrical Requirements and Permits for DIY Mini Splits

Always follow local building and electrical codes, national standards like the NEC (National Electrical Code), and your jurisdiction's permitting rules before you start any electrical work.

Typical electrical requirements for DIY mini split systems are pretty straightforward.

  • 9,000–12,000 BTU (115V): A dedicated 15–20A breaker and 12–14 AWG wire, depending on how long the run is
  • 18,000–24,000 BTU (230V): Dedicated 20–30A breaker, 12–10 AWG copper
  • Multi-zone systems: You may need a 30–40A breaker and 8–10 AWG wire

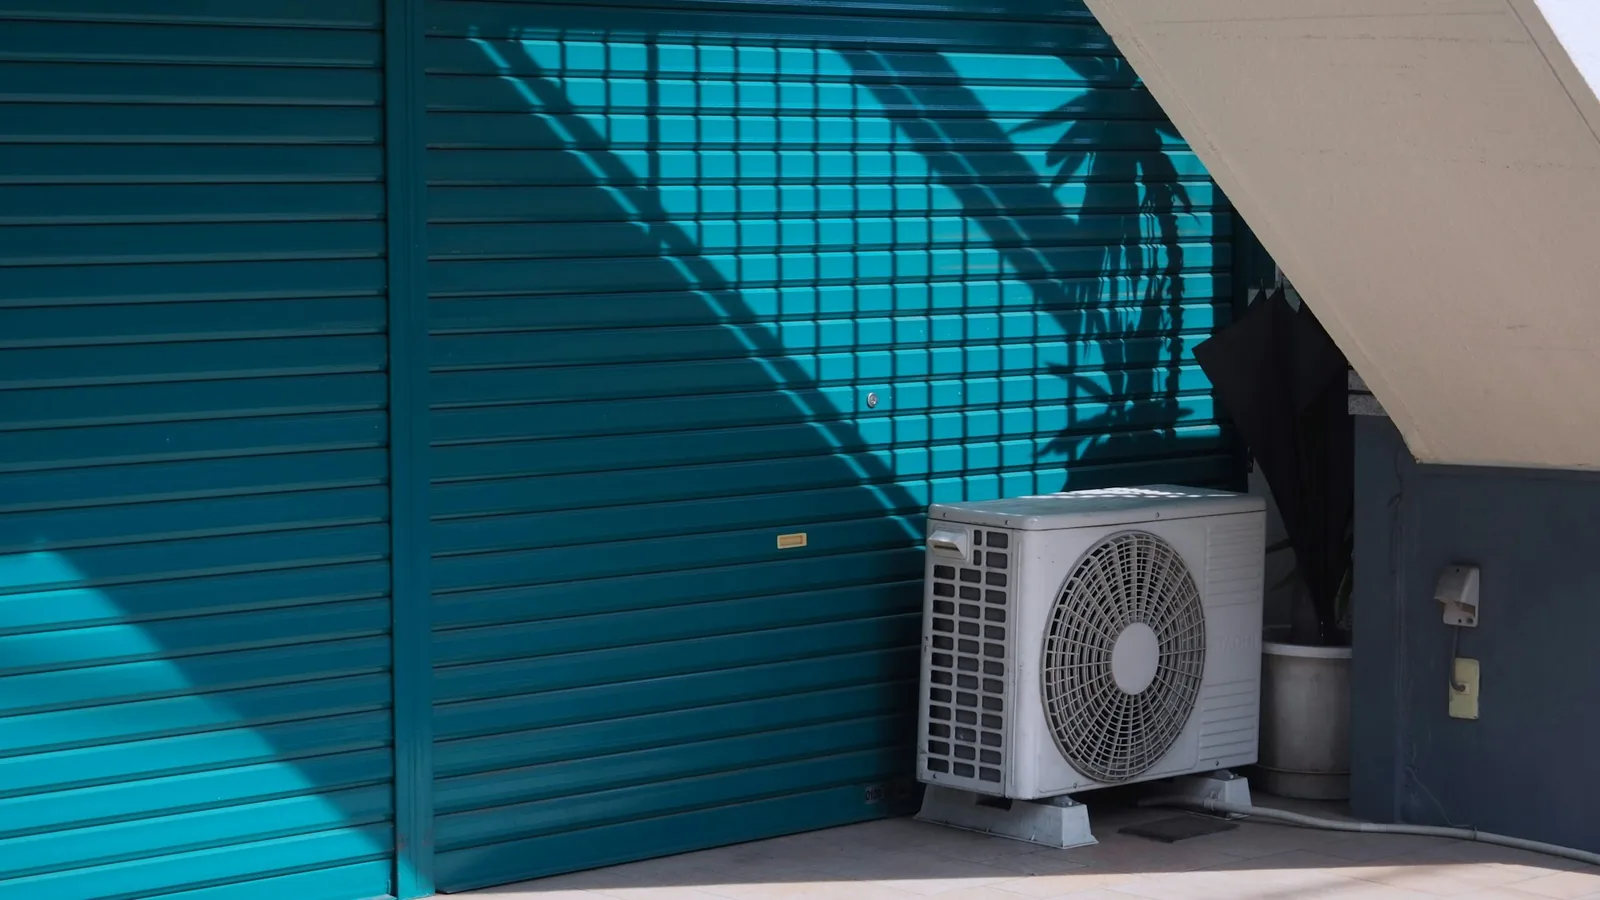
NEC Article 440 requires a dedicated branch circuit for motor-compressor units - you cannot share a circuit with garage lights or outlets. An outdoor disconnect switch must be installed within line-of-sight of the outdoor unit, in a weatherproof NEMA 3R enclosure.

In many U.S. cities, homeowners can perform their own electrical work on primary residences, but a permit and inspection are typically required. Inspectors verify that the circuit matches the MCA/MOCP on the equipment nameplate, proper disconnect placement, correct wire size and grounding. If you're unsure about any of it, hire a licensed electrician - the cost is modest compared to a failed inspection or fire risk.

DIY mini splits with pre-charged line sets remove the need for refrigerant licensing, but they do not remove the responsibility for proper grounding, GFCI protection where required and correct conduit or cable routing in garages. An HVAC contractor is not needed for the refrigerant side, but an electrician might be for the electrical side depending on your local rules.

Planning Your DIY Garage Mini Split Layout

Careful layout planning keeps the refrigerant lines from getting too long, prevents condensate problems and stops problems with your garage door, tables and vehicles.

Indoor unit placement:

  • It's best to mount it on a long interior wall or a side wall, about 7–8 ft up from the floor
  • Leave several inches below the ceiling so the unit has room for air intake and service access.
  • In shops with 12–14 ft ceilings that are high, mount the unit at 8–9 ft and angle the louvers downward to push conditioned air into the occupied zone rather than letting it stratify at the rafters.
  • Keep the storage area below the head clear of tall shelving that blocks the airflow.

Outdoor unit placement:

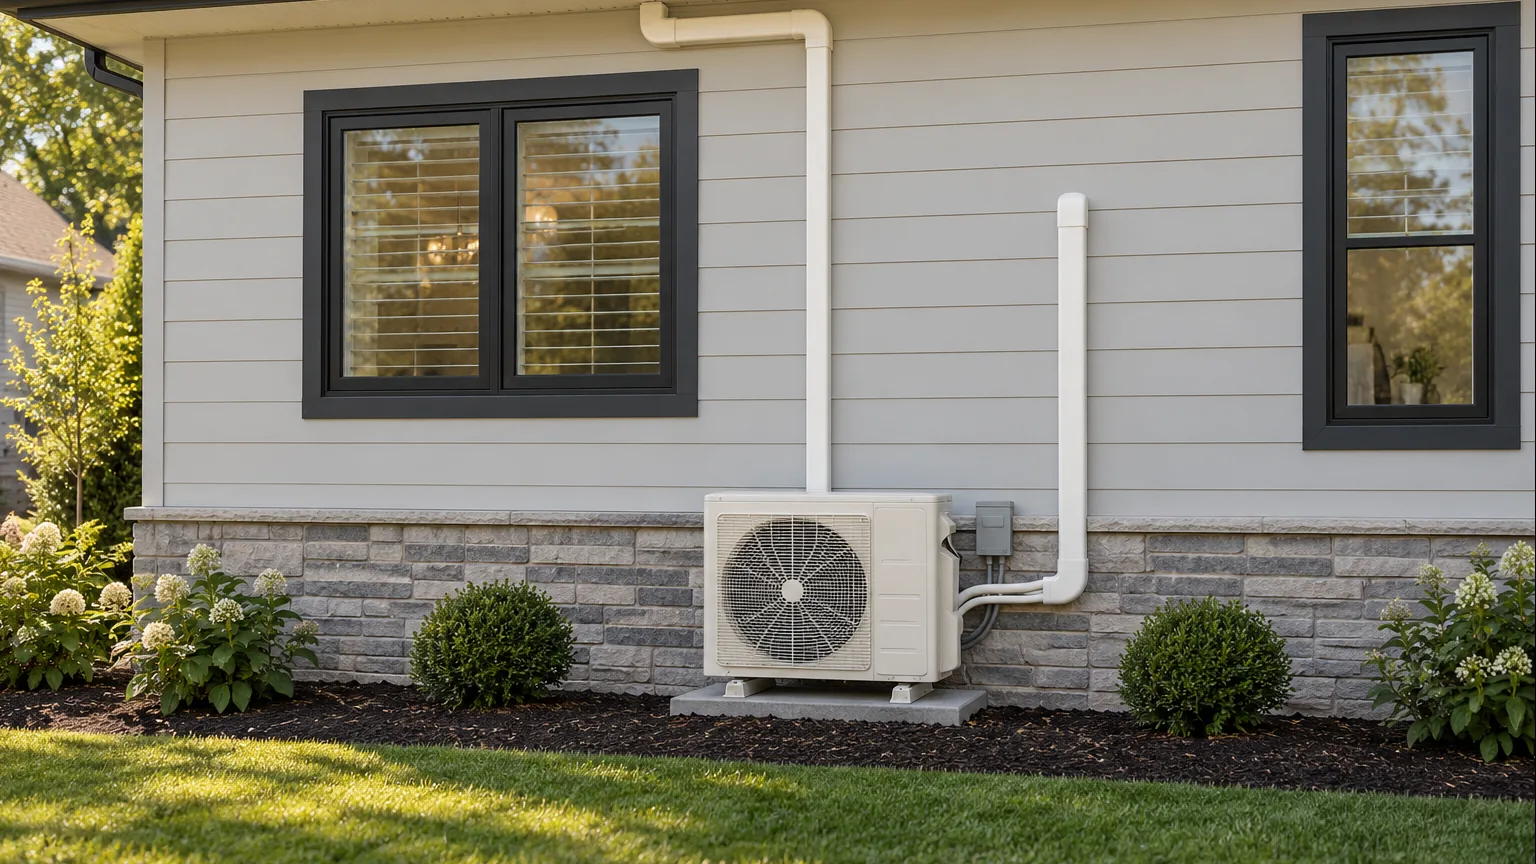
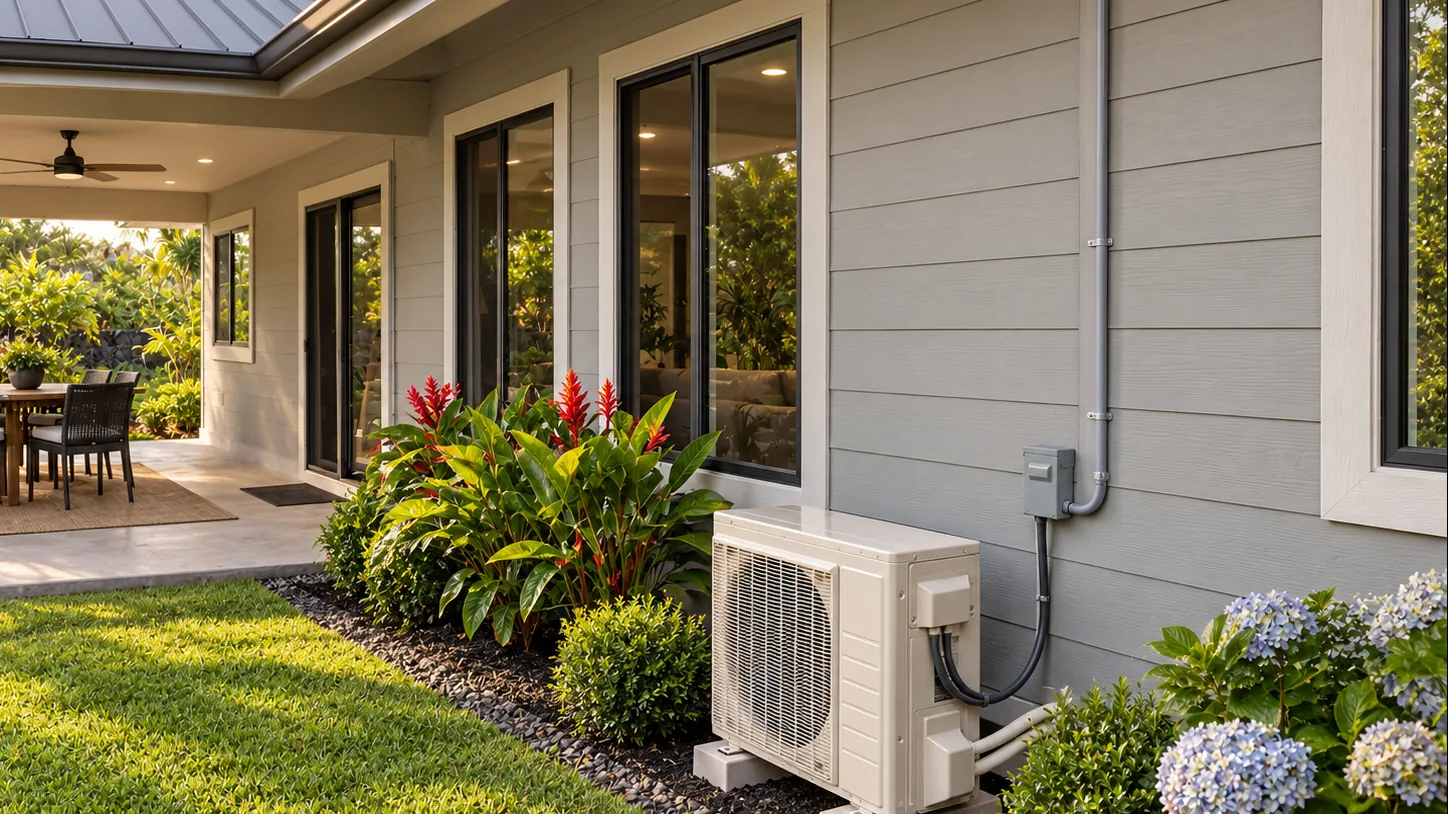
  • Set it on a pad made of level concrete or on a wall bracket.
  • In cold climates, elevate the unit above the expected snow line.
  • Keep 12–24 inches of open space on all sides
  • Don't put it right under roof drip lines or where ice can fall on it
  • Face away from prevailing wind when possible

Line set routing:

  • Plan the route before drilling - keep within the manufacturer's max length and elevation difference (Zone Air allows up to 75 ft of line set as one continuous pre-charged run, with up to 33 ft of vertical lift on 9K and 12K units and 50 ft on 18K)
  • Avoid tight turns. Maintain minimum bend radius per manual
  • Locate the wall penetration of 3–3.5 inches away from studs and electrical runs.
  • Seal the sleeve against water infiltration and insulate against heat loss

DIY Installation Overview Without Refrigerant Work

This is an overview, not a substitute for your installation manual. Every step should be cross-checked against the specific manufacturer instructions for your system.

Major steps in order:

  1. Mount the indoor bracket so it is level on the wall
  2. Drill the wall penetration and install the sleeve for the line set.
  3. Hang the indoor unit
  4. Set the outdoor condenser on its pad or bracket, then level it and secure it
  5. Run the line sets that are pre-charged, and run the cable for communication and control.
  6. You have to connect the quick-connect fittings at both ends of the line set.
  7. Route the condensate drain and secure it with a gravity slope, and protect it from freezing
  8. Make the electrical connections for the dedicated circuit, the disconnect and the ground wire.

DIY mini splits don't need you to handle refrigerant or do any vacuuming because the refrigerant is sealed at the factory. The quick-connect fittings are made to be put together one time during installation. You'll usually need basic tools like a drill and wrenches, plus a 3-inch hole saw, a level and a torque wrench.

Cold-climate installation tips:

  • Pitch the condensate lines slightly downward and insulate them or heat-trace them in areas that are prone to freezing
  • Wrap all of the refrigerant lines with insulation and with a UV-protective cover.
  • Ensure snow clearance under and around the outdoor unit for airflow and defrost drainage
  • Seal the wall penetrations tight because cold air getting in around the sleeve will hurt how well your heating works.

Zone Air's FAQ says a first-time single-zone wall install takes 4–6 hours with two people. It takes about 3 hours once you've done one. Long line set runs or a garage with tricky wall framing will add time.

Fine-Tuning Climate Control With Thermostats, Modes and Garage Use Cases

The right controls and habits keep the unit from short-cycling, protect your tools and finishes, and keep energy bills reasonable in a space that might sit empty most of the day.

Recommended cold-climate setpoints:

  • Storage-only garage: 45–50°F winter floor to keep things from freezing. Bump to 60–68°F when working
  • Workshop: 55–60°F baseline; increase when occupied
  • Summer: use cool or dry mode to keep the humidity under control, especially if you've got woodworking projects or stored building materials

Operating modes:

  • Heat mode in winter (primary)
  • Cool or dry mode in summer to keep the humidity under control and to run the air conditioning
  • There's a fan-only mode to move the air around without heating or cooling it
  • Avoid auto mode if it causes frequent unwanted switching between heating and cooling

Most DIY mini splits now come with Wi-Fi, so you can pre-heat or pre-cool the garage from your phone before you head out there. You can also track energy usage and change schedules remotely. It's worth adjusting the louvers so they don't blow right on your work table or your car - in a bigger space, aim them downward so the air circulates from floor to ceiling. And even if you've put in solar panels to cut your electric bill, smart scheduling still helps you use less power overall.

Maintenance and Reliability in Extreme Cold

Garage mini splits deal with dirt, sawdust and road salt that indoor units never have to handle. If you keep up with maintenance, the system will hold its capacity and efficiency for the long haul, especially when it's working hard through a cold winter.

Indoor unit maintenance:

  • Clean or replace the filters every 1–3 months (garages have more dust)
  • The evaporator coil and blower wheel should be cleaned off every so often
  • Keep the return and supply paths clear so that shelves and stacked items don't get in the way of them

Outdoor unit maintenance:

  • Gently rinse the coils in spring and fall to get rid of salt and debris that builds up on them
  • Keep snow and ice away from the base and fan guard after storms and cold stretches
  • Check that the unit stays level - frost heave and ground settling happen

Ice can build up below the outdoor unit from defrost water, and that ice can block airflow in sub-zero weather. Use a raised stand and make sure water drains away from the pad, especially in regions that regularly hit -10°F or below.

You have your proof of purchase and photos of your DIY install. Zone Air has no deadline for warranty registration, and the company states that homeowner installation does not void its warranty. Keeping your documentation makes future service or warranty claims simple.

FAQ

FAQs About DIY Garage Mini Splits in Cold Climates

Yes. Zone Air mini splits are rated to heat down to -13°F, with reduced but usable heat output as it gets colder. Below -13°F, you may need a backup heater or accept lower output during the coldest hours.
Volume is 5,760 cubic feet. Moderately insulated in a cold climate, this often lands near 18,000 BTU nominal. With poor insulation or frequent door openings, 24,000 BTU or more may be justified. Use a load calculation to confirm the right mini split size.
For units up to about 12,000 BTU, yes - most 115V models top out there. For 18,000 BTU and above, 208/230V is required. Zone Air's 115V 9K and 12K run on a dedicated 15A circuit and are rated 23 SEER2, against 24 SEER2 for the 230V versions. Check the electrical requirements on the nameplate before running your circuit.
In most jurisdictions, yes. Ductless systems are permitted in attached garages, but codes may require specific mounting heights to avoid ignition sources. Permits and inspections apply. Check with local officials.
Cool mode removes moisture while lowering temperature. Dry mode targets humidity directly. Effectiveness depends on the moisture source - if water intrudes from the ground or rain, address that first. But for general summer dampness, a properly sized unit handles it well.
For spaces with 12–14 ft ceilings, increase your baseline BTU calculation by 10–20% and mount the indoor unit at 8–9 ft to keep conditioned air in the occupied zone.

Zone Air offers 30-day returns on uninstalled units, counted from delivery, with an RMA.

Before purchasing, confirm final sizing and electrical requirements against your specific manufacturer manual and local regulations. Measure your garage, assess your insulation honestly and pick the right mini split size for your conditions - then let a Zone Air DIY system handle the rest.

Specs and warranty terms are manufacturer-published as of November 2026, subject to change. Verify before purchase.
Sources & Methodology

Where our data comes from

Specs, ratings, prices and warranty terms come from the manufacturers' published catalogs, manuals, spec sheets and policy pages linked below, checked in November 2026.

Keep Reading

Related guides

More on DIY Mini Split for Garage Cold Climate.

Compare the top mini splits

See how the leading ductless brands stack up on efficiency, cold-climate heat, warranty, and total installed cost — then buy direct from the manufacturer you choose.

Related Guides

Keep researching

Size it right, then compare the systems that fit your garage and budget.