
Ductless mini splits for less · 2026 buyer's guides & free sizing helpSize my system →

Best cold climate DIY mini split picks for 2026

These are the best DIY mini split options you can buy for cold weather heating in 2026. Each model on this list is built to deliver usable heat well below freezing temperatures, and most can be installed without an HVAC professional.

  • Airspool HS12 SuperHeat: 12,000 BTU cooling / 13,500 BTU heating. Rated to heat down to −22°F using enhanced vapor injection (EVI). SEER2 21.5, HSPF2 10.8. Ships with a pre charged quick-connect line set (up to 49 ft), requires only a drill and a 120V/20A outlet. Solar-hybrid capable. Five-year parts and labor warranty valid for DIY installation.
  • MRCOOL DIY 5th Gen: Available in 9k, 12k, 18k, 24k and 36k BTU sizes. MRCOOL's standard DIY 5th Gen is rated to heat down to about −13°F, holding full output into the single digits and tapering below that. Higher-tier MRCOOL DIY models are rated lower. SEER2 runs from 22.5 to 23.6 on the 9k–24k sizes. MRCOOL says no special tools or training are necessary to install it.
  • Senville AURA Series: The Senville AURA Series operates efficiently down to −22°F, and that makes it one of the most cold-tolerant options you can find on the market. SEER ratings reach up to 28.1. One thing to note: the Senville Aura Series has to have professional installation to maintain its warranty.
  • Pioneer WYS Series: The Pioneer WYS Series operates efficiently down to −13°F. SEER ratings span 17.5 to 21.5. With BTU options from 9,000 to 36,000, the Pioneer WYS series covers everything from a single room up to larger spaces.
  • Zone Air (single-zone and multi-zone): 9k, 12k and 18k single-zone wall units, plus 2- and 3-zone systems on one outdoor unit. Heats down to −13°F on every system and cools in outdoor temperatures up to 131°F. 24 SEER2 on the 230V 9k and 12k (115V models are 23 SEER2). Pre-charged quick-connect line sets cut to any whole foot from 5 to 75 ft, so no vacuum pump. 5-year parts and 7-year compressor warranty, and installing it yourself does not void it.
  • Pro-installed comparison (Mitsubishi Hyper Heat MUZ-FH): This isn't a DIY option, but it can be useful for comparison. It's rated for −13°F, delivers 100% heating capacity at 5°F, and has an HSPF around 12.0–13.5 in smaller sizes. It requires a licensed HVAC tech, brazing and vacuum equipment.

Zone Air publishes a one-page spec sheet, the full manual and an install guide for every unit it sells, and its free sizing calculator works for any brand on this list.

How cold climate mini splits work in freezing weather

A mini split heat pump doesn't actually generate heat. It moves heat from the outside air into your home using a vapor compression cycle, and even at −10°F that outdoor air still contains thermal energy that a properly engineered compressor can capture, compress and deliver indoors at usable temperatures.

So what separates a cold climate mini split from a standard unit:

  • Variable-speed inverter technology is beneficial for maintaining efficiency in cold temperatures. Instead of cycling on and off, an inverter-driven compressor changes speed continuously, getting heat at low ambient temperatures without the energy waste of constant starts.
  • Modern refrigerants like R-32 and enhanced vapor injection (EVI) systems boost middle pressure inside the compressor, allowing the unit to maintain heating capacity at outdoor temperatures where standard units shut down. Using EVI to keep producing heat at −22°F, the Airspool HS12 is one example.
  • "Hyper heat" is a marketing term that originally came from Mitsubishi. It means units that keep 70–80% or more of their rated capacity at temperatures around −13°F. The underlying technology varies. Some units use compressors with dual injection, and others use circuits with vapor injection.

The ENERGY STAR cold climate specification sets minimum cutoffs: COP ≥ 1.75 at 5°F, and at least 70% of rated 47°F heating capacity retained at 5°F. Any unit that falls short of those numbers is not a cold climate heat pump. It is an air conditioner with a heat mode.

Specs to compare for cold climate DIY mini splits

Before you buy, learn how to read spec sheets with a heating-first lens. The cooling numbers matter less if your winters regularly hit 0°F.

Heating performance metrics:

  • Minimum outdoor operating temperature is the published floor at which the unit still produces heat. If you have a −5°F rating compared with a −22°F rating, you get very different real-world reliability. Cold-weather mini split systems must be rated for effective heating down to at least −13°F so they can handle most northern US winters.
  • So how much heating capacity does it have at 47°F vs. 5°F? Check how many British thermal units the unit delivers at each of those temperatures. A 12,000 BTU unit that drops to 7,000 BTU at 5°F keeps about 58% of its capacity. That would fail the ENERGY STAR 70% threshold.
  • HSPF2 ratings are crucial for how well mini split systems do in cold weather. ENERGY STAR cold climate ductless units need an HSPF2 of at least 8.5. Units that hit 10 or higher will give you clearly lower winter electricity bills.
  • You should check the specific performance numbers at low temperatures before you buy a mini split. Ask for capacity data at 47°F, 17°F, and 5°F at minimum.

Electrical and installation specs:

  • Cold-weather mini splits usually need a dedicated 230V circuit, though some 12k BTU DIY models run on 120V/20A (like the Airspool HS12). DIY mini splits need a dedicated electrical line for installation regardless of voltage.
  • Depending on which brand you go with, the maximum length of the line set for pre charged DIY kits runs from about 16 to 75 feet. Keep in mind that longer runs will reduce the capacity of the unit.
  • Sound levels for indoor air handler units range from 29–41 dB, while outdoor units usually peak around 52–56 dB during defrost cycles.

Warranty:

  • With DIY-installed systems, the warranty varies by manufacturer. Some brands do honor their warranties on DIY installs: MRCOOL's DIY 5th Gen comes with 5-year parts and 7-year compressor coverage with no registration required (parts only, no labor), and Zone Air's 5-year parts / 7-year compressor coverage has no registration deadline and installing it yourself won't void it. Others, like the Senville Aura Series, need professional installation to keep the warranty, so you should always verify this before buying.

Best DIY mini split models for cold climates

This section has the detail you need to decide which system fits your climate, space, and budget.

Airspool HS12 SuperHeat (2025–2026 spec): This one has 12,000 BTU, and the EVI compressor is rated to work down to −22°F. SEER2 21.5, HSPF2 10.8. With this kit, you're getting the indoor unit, the outdoor unit, a 10 ft pre charged quick-connect line set you can extend to 49 ft, the power cord, the communication wire, and the mounting hardware. No vacuum pump needed. It needs a NEMA 5-20R (120V, 20A) outlet. Solar-hybrid input supported. Covers about 400–550 square footage. It's best for you if you have an extreme cold climate cabin, an off-grid solar setup, or if you want primary heat without backup strips. Drawback: the coverage is limited to about 500 sq ft for each zone. Also, a 20-amp outlet is less common than a 15-amp outlet.

MRCOOL DIY 5th Gen: You can get this one in 9k through 36k BTU. MRCOOL's standard DIY line is rated to heat down to about −13°F, holding full output into the single digits. Higher-tier DIY models are rated lower. SEER2 is 23.6 on the 9k and 23.5 on the 12k. It installs with pre charged quick-connect line sets in 11.5, 16, 25, 35 and 50 ft lengths, plus couplers for longer runs, and the manual has you coil any excess behind the condenser. Running at 115V, the 9k and 12k are hardwired. The larger units (18k, 24k, 36k) are going to need 208/230V power. It's best for you if you're a first-time DIY installer and you want a well-documented install process with US-based phone support and strong community resources. The drawback is that once it gets colder than the single digits, output will drop, so in below-zero climates you'll want to plan on backup heat for the coldest nights.

Zone Air: Single-zone wall units in 9k and 12k (115V or 230V) and 18k (230V), plus 2- and 3-zone systems on one 27,000 BTU outdoor unit. Every system heats down to −13°F, the same floor as MRCOOL's standard DIY 5th Gen. At 24 SEER2, the 230V 9k and 12k are rated the highest of the pre-charged quick-connect DIY systems compared here (MRCOOL's best single-zone is 23.6). The 115V models are 23 SEER2. Single-zone wall kits ship with a 16 ft pre-charged line set, and Zone Air will cut a set to the exact length you measure, any whole foot from 5 to 75, as one continuous run with no coupler. On multi-zone, it is the only DIY mini split that lets you mix wall-mount, ceiling cassette and concealed ducted units on one outdoor unit (as of November 2026). With the optional cord kit where local code allows, the 115V models can plug into a dedicated 15A outlet, where MRCOOL's 115V units are hardwired. Final assembly, testing, and inspection happen in the USA. Sold direct with free shipping to the lower 48 and 30-day returns on uninstalled units. Best for: DIYers in climates with lows around −10°F to −13°F who want a long or odd-length line run, or several rooms with different indoor unit styles. Drawback: for places that sit below −13°F for days at a time, a −22°F-rated unit gives you more margin.

EG4 Hybrid Solar Mini Split 12K: This is a 12,000 BTU unit that heats down to 5°F. SEER2 up to 22.5, HSPF2 ~9.7. It ships with a quick-connect line set that is 16.4 ft long and already pre-vacuumed. Running on hybrid AC/DC input, it can auto-switch between solar panels and grid power. It's best for you if you have a solar-integrated setup and winter lows in your area rarely drop below 5°F. Drawback: this is not a true extreme cold climate unit. Below 5°F, expect the system to struggle without backup.

Friedrich Floating Air Premiere Series: The Friedrich Floating Air Premiere Series works effectively at −13°F. SEER ratings range from 18 to 28 depending on model. Professional installation is typical for this line, but it serves as a strong benchmark for cold climate performance in the ductless mini split category.

Cooper & Hunter Hyper Heat Series: This series is designed for extreme cold climates. SEER ratings from 20.5 to 25. Multiple BTU sizes available. It's worth considering if you want a middle ground between budget DIY models and top-tier pro-installed systems. Cooper & Hunter Hyper Heat Series is designed for extreme cold weather scenarios where other brands lose output.

Daikin Atmosphera Series: A pro-installed option with SEER ratings from 22 to 27.5. Not a DIY unit, but among many brands competing in the cold climate space, Daikin's inverter technology and build quality make it a reference point.

Cold climate performance at −5°F, −13°F, and −22°F

Whether your heat pump will keep running on the coldest night of the year, or if it'll kick you over to backup heat instead, that's what the minimum rated outdoor temperature on a spec sheet tells you.

  • Minneapolis, MN gets January lows that hit −15°F to −25°F pretty regularly during cold snaps. If your unit is only rated to −5°F, you'll be on backup heat for dozens of nights each winter. A −22°F-rated unit like the Airspool HS12 or the Senville AURA Series can keep the compressor running down to −22°F, so it'll get you through those nights.
  • Portland, ME or Burlington, VT usually see winter lows between −5°F and −15°F. A −13°F-rated system (Pioneer WYS Series, Friedrich Floating Air Premiere) handles most nights fine. A −5°F unit will need backup during the worst weeks.
  • Denver, CO or Boise, ID don't often drop below −5°F. A standard cold climate model that is rated to 5°F handles these winters without backup.

Mini split systems lose heating capacity as outdoor temperatures drop. Even a −22°F-rated unit delivers less heat at −22°F than it does at 47°F. You need to plan for that: a unit that puts out 13,500 BTU at 47°F might only deliver 8,000–9,000 BTU at −10°F. If your heating load at −10°F is 10,000 BTU, you'll feel the gap.

Zone Air recommends choosing a system with at least 90–100% rated heating capacity at 5°F if the home is in a true cold climate region, and oversizing by 10–20% in areas that routinely see −15°F or colder.

Sizing a mini split for cold climates (heating-first, not cooling-first)

In cold climates, size a mini split system for heating capacity first. If it can handle your peak load in January, it will handle July without issue.

  • Mini split systems can range from 9,000 BTUs all the way up to 36,000 BTUs. One ton of cooling is 12,000 BTUs. The BTU ratings are what determine how much heating capacity a mini split system has.
  • 12,000 BTUs can cover 350 to 550 square feet if the room is well insulated and the design temperature is around 0°F. If you have poor insulation, single-pane windows or a design temp of −20°F, that can push what you need to 15,000–18,000 BTU for the same square footage.
  • For a cold climate, a rough rule is 30–35 BTU per square foot for a home that has good insulation. For a cabin that is 500 sq ft, that means you need 15,000–17,500 BTU at the design temperature for your local area.
  • Manual J load calculations are still the gold standard. For DIY projects like garages, basements or cabins, a careful square-footage estimate with a 15–30% heating buffer works as a practical shortcut.
  • Oversizing by 10–20% helps maintain comfort during cold snaps. But oversizing by 50% or more causes short cycling, reduces energy efficiency and speeds up compressor wear.

DIY vs professional installation in cold climates

The line between DIY and professional installation comes down to how you handle the refrigerant and how complex the electrical work is.

Mini split systems that have pre-charged quick-connect line sets let you do a true DIY installation. Brands like Airspool, MRCOOL and Zone Air ship line sets that are sealed and charged at the factory, so you just click them together without brazing or vacuuming. With Zone Air, the refrigerant stays sealed in the line set and never opens to the atmosphere, so you don't need a vacuum pump, a gauge set or EPA 608 certification for the install. Most towns treat it as an electrical-only permit (check locally). DIY mini splits often come with precharged refrigerant line sets, an indoor unit, an outdoor unit, communication wire and mounting hardware.

Where DIY makes sense:

  • Single-zone installations: a garage, a cabin, a home office or a bonus room
  • Existing electrical circuit nearby (or a simple run to the panel)
  • Line set run under 25 feet with little turns
  • Pre-charged DIY kits. MRCOOL, for example, says no special tools or training are necessary to install its DIY 5th Gen

Where professional installation is better:

  • Multi-zone systems that have flared, field-charged line sets (the exception is pre-charged DIY multi-zone kits from Zone Air and MRCOOL)
  • Line set runs that go over 40 feet, or paths that go through finished walls in a complex way
  • Electrical panel upgrades or new 230V circuits are work you'll want to call an HVAC professional or licensed electrician for.
  • Strict local permit requirements for refrigerant-bearing equipment

Zone Air recommends DIYers stick to purpose-built DIY mini split kits with pre-charged line sets, single-zone or multi-zone and call an HVAC tech for any work involving refrigerant charging, brazing or major electrical panel changes.

Cold weather installation best practices

Correct installation is what determines whether your system delivers its rated performance or falls short during the months you need it most.

Outdoor unit placement:

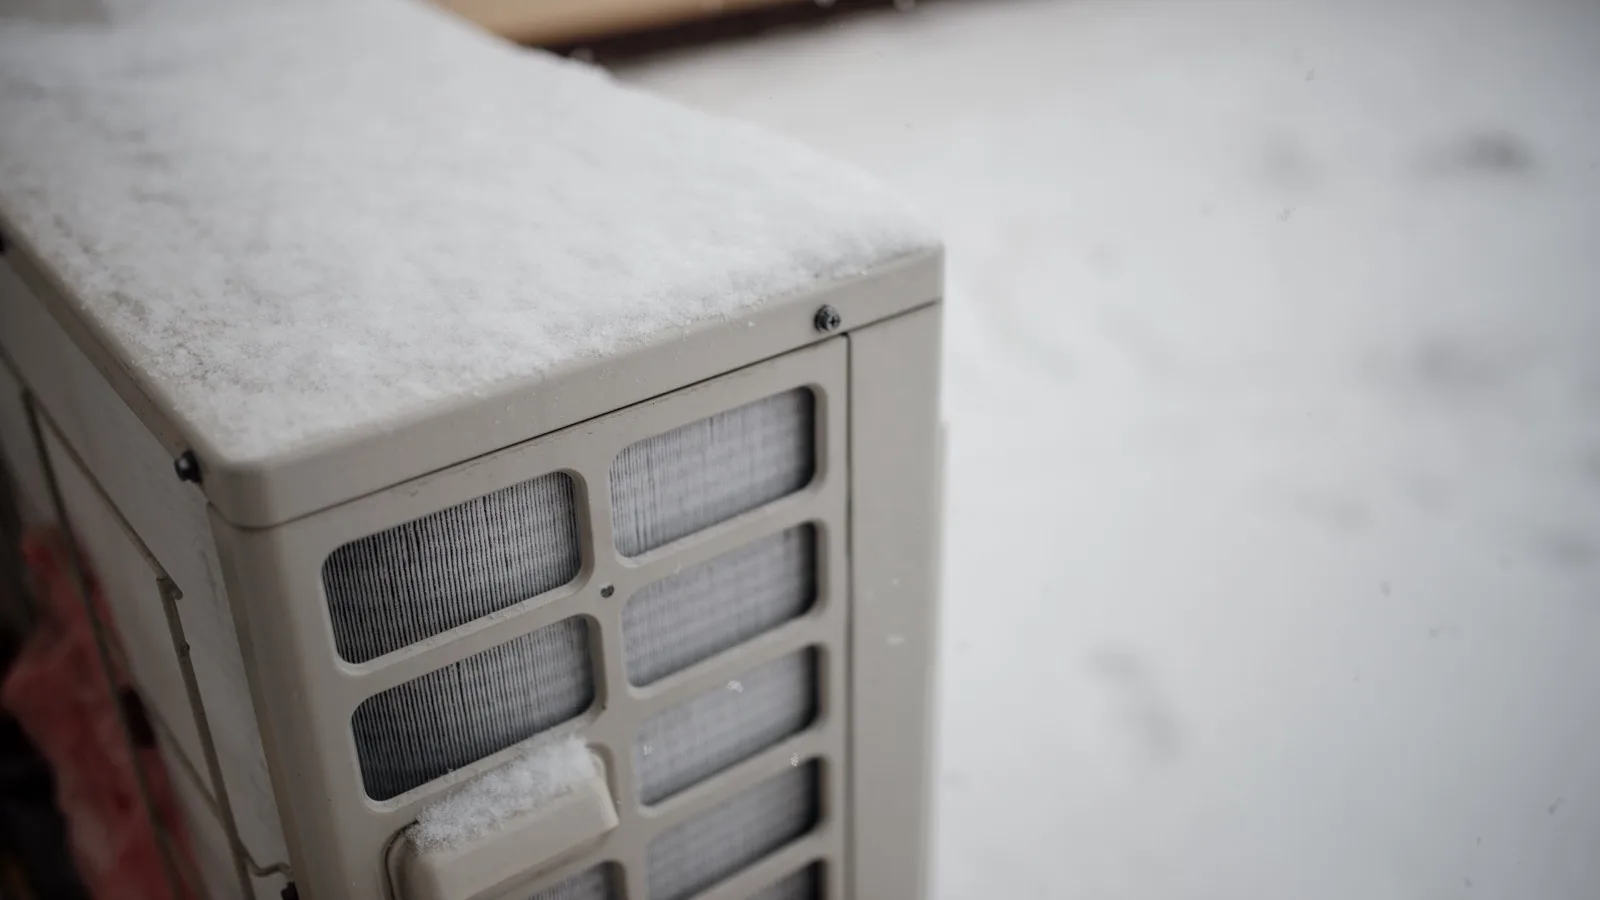
  • Mount the condenser 18–24 inches above the snow you expect to get, using a sturdy wall bracket or a ground stand. Avoid locations that are under roof edges, where snow can fall and bury or damage the unit.
  • Maintain manufacturer-specified clearance on all sides (typically 12–24 inches) for airflow. Defrost cycles produce meltwater that must drain freely. Blocked drainage leads to ice buildup under the coils.

Line set routing:

  • Minimize turns. Each sharp turn reduces how well the refrigerant flows and lowers the system capacity. Put closed-cell foam insulation on the suction line, and use covers that are UV-resistant to protect the outdoor sections that are exposed.
  • Seal wall penetrations with fire-rated caulk or expanding foam to block cold air from getting in and to block moisture from getting in.

Condensate drainage:

  • Route the indoor unit drain line through heated space where you can. If it has to run through an unconditioned area, insulate it and keep a continuous slope so water doesn't pool and freeze. Don't use drain traps in cold zones, because trapped water will ice up.

Electrical connections:

  • Electrical requirements for cold-weather mini splits usually involve a dedicated 230V circuit for units above 12,000 BTU. Smaller DIY models may use 120V/20A. Use the wire gauge the manufacturer lists on the spec sheet, and install a disconnect you can see from the outdoor unit.

Energy efficiency and costs in cold climates

A higher HSPF2 rating means lower winter electricity bills. On a 12,000 BTU unit that runs through a winter with 5,000 heating-degree-days, the difference between HSPF2 8.5 and HSPF2 10.8 can add up to hundreds of dollars per season.

  • Inverter-driven ductless mini splits adjust the speed of the compressor to match what the room actually needs. On a 25°F day, the compressor runs at partial speed and draws less power than a single-stage system that cycles on and off. That's where energy efficient operation saves the most money.
  • A 12,000 BTU cold climate mini split with HSPF2 10.0, running in the northern part of New York at $0.15/kWh, costs about $450–$600 per heating season for a 500 sq ft space. Electric baseboard heating with a COP of 1.0 for the same load runs $900–$1,200. Propane at $2.50/gallon with an 80% furnace efficiency falls somewhere in between.
  • ENERGY STAR cold climate certification is worth looking for. Certified units have to hit minimum HSPF2 and COP levels that warranty real efficiency at 5°F.
  • Smart controls and Wi-Fi connected thermostats allow programmable schedules and remote monitoring. Heating only occupied rooms, using modest night setbacks (2–3°F rather than 10°F), and keeping the system in heat mode rather than auto mode all reduce electricity costs.

Features that matter in cold weather mini splits

Beyond BTU output and temperature ratings, there are specific features that tell you whether a cold weather system will be reliable or will have trouble and fail.

Outdoor unit protection:

  • Base pan heaters keep ice from blocking drainage when it's below zero. Without one, water from defrost cycles freezes again and turns into a solid block under the coils.
  • Smart defrost control spots frost buildup and runs defrost only when it's actually needed, instead of on a fixed timer. This cuts down on heating breaks and the energy waste from defrost cycles you don't need.
  • A crankcase heater keeps compressor oil warm during long off periods, so liquid refrigerant doesn't flood the compressor at startup.
  • Heating performance at low outdoor temperatures matters for cold-climate mini split systems. Look for published operating curves that show the compressor stays active at your local design temperature.

Indoor comfort:

  • Multiple fan speeds and a quiet night mode are helpful in bedrooms. Some units drop below 30 dB.
  • Directional louvers that angle warm air downward across the floor counter the natural tendency of hot air to stratify at ceiling level.
  • Built-in Wi-Fi or app control lets you use your phone to check on and adjust a remote cabin, to start heating before you get there, and to get maintenance alerts.

Durability:

  • Coatings that resist corrosion on the coils ("Gold Fin" or similar) protect the outdoor unit in places where there is road salt spray or coastal air.
  • Auto-restart after power outages makes sure the system gets back on without you having to do anything when winter storms hit.

Using a mini split as primary heat in cold climates

In a well-insulated house, a cold climate ductless mini split can be the primary heat source, but the answer depends on the building envelope and how severe the local winter is.

  • In tight, modern homes (R-20+ walls, double or triple-pane windows, little air leakage) located in climate zones 4–6, a −13°F or −22°F rated mini split handles 90–95% of annual heating hours without backup.
  • In older homes with poor insulation or climate zones 6–7 where −25°F nights happen multiple times per winter, plan for a hybrid setup. Paired with an existing gas furnace, wood stove or electric baseboard that only turns on below a set temperature (the "balance point"), a DIY mini split is a practical strategy.
  • Homeowners in Vermont who run multi-zone cold climate heat pumps report that they use resistance backup strips only for emergency cold periods when it is below −20°F. For the rest of the season, the heat pump covers it.
  • Even if the mini split handles 95% of your heating load, you'll need to have a backup plan for the remaining 5%. Portable ACs work in summer. A portable electric heater can serve the same emergency role in winter.

Mistakes DIYers make with cold climate mini splits

Avoiding these errors will protect both how the system performs and how long the compressor lasts.

Choosing the wrong unit:

  • What's the problem with buying a standard AC-focused mini split instead of a cold climate heat pump? A unit with SEER2 of 20 but no published heating data below 17°F will leave you cold in January.
  • Ignoring local design temperatures. If your area's 99% winter design temp is −10°F and you buy a unit rated to 5°F, you are too small for the nights that matter most.

Sizing errors:

  • Undersizing means the system runs at maximum output for hours and still cannot reach the setpoint. Oversizing causes short cycling during warmer weather, which wastes electricity and puts stress on the compressor.

Installation errors:

  • Mounting the outdoor unit at ground level where snow that piles up covers the coils and blocks airflow.
  • Kinking or over-bending the line set limits how the refrigerant can move through it and cuts down on capacity.
  • Failing to insulate suction lines causes condensation and ice to build up on the line set itself.
  • Creating low spots in condensate drain lines where water pools up and freezes.

Operational errors:

  • Running in auto mode during deep winter means the system is switching between cooling and heating for no good reason.
  • Turning the unit fully off instead of letting the inverter drop down to minimum output keeps the compressor warm and the room stable.
  • Blocking the indoor air handler with furniture or curtains is starving it of return air.

Zone Air guides DIYers past these issues by focusing on cold climate-ready, DIY-friendly mini split choices and clear, specific installation guidance.

Which cold climate DIY mini split is best for you?

With the best cold climate DIY mini split, it depends on three things: how cold your winters actually get, how much you want to spend, and whether the system will be your primary or supplemental heat source.

  • Subzero cabin or workshop (routinely below −10°F): Airspool HS12 SuperHeat or Senville AURA Series (if you are willing to pay for professional installation to keep the warranty). Both operate at −22°F.
  • First-time DIY installer in a moderate cold climate (0°F to −10°F lows): MRCOOL DIY 5th Gen or Zone Air, both rated to −13°F. MRCOOL has an install process that is well documented and strong market support. Zone Air's 230V units run at 24 SEER2, and it cuts line sets to the exact length of your run. Either one will cover most winter nights without backup.
  • Several rooms that need different indoor units: Zone Air multi-zone. One outdoor unit can run a wall unit in the living room, a ceiling cassette in the kitchen and a concealed ducted unit that sends air to two bedrooms. You install it yourself.
  • Off-grid or solar-integrated setup: EG4 Hybrid 12K. You can pair it with solar panels so you draw less power from the grid, and you can add backup heat for the coldest weeks.
  • Detached garage in Michigan or finished basement in New Hampshire: A 12,000 BTU cold climate unit is enough for 350–550 sq ft. If your space is larger, the Pioneer WYS Series offers BTU options from 9,000 to 36,000 to match.
  • Whole-house primary heat in a northern home: Consider multiple zones with −13°F or −22°F rated heads. Budget for professional installation on multi-zone systems unless you choose a pre-charged DIY multi-zone kit, and keep a backup heat source for the worst cold spells.

Prioritize cold weather heating capacity and reliability over the lowest installation costs. A unit that saves $300 upfront but cannot keep up at −5°F costs far more in backup heat, discomfort and compressor strain over its lifespan.

Zone Air is the best resource for choosing, sizing and getting the most from a cold climate DIY mini split in 2026 and beyond.

Specs and warranty terms are manufacturer-published as of November 2026, subject to change; verify before purchase. MRCOOL® is a trademark of its owner.
Sources & Methodology

Where our data comes from

Zone Air and MRCOOL capacity, efficiency, cold-climate, line set and warranty figures are the manufacturers' published specifications, checked in November 2026. Figures for other brands are as published by those brands; verify them on the manufacturer's spec sheet before buying.

Keep Reading

Related guides

More on heating through a cold winter, sizing for heat and DIY installs.

Size for your coldest night first

Run the free calculator for your space, then compare single-zone systems side by side.